
| Repairs and Restoration |
We recommend you contact repairs@parker51.com for repairs of your Parker 51 pen or pencil. However, if you would like to try repairing your pen on your own, please see the tips presented below.
Here you will find tips on repairing Parker “51” fountain pens. Keep in mind that repairing pens can be a long learning experience and that you can very easily ruin a good pen. This is from personal experience of many cracked barrels and melted hoods. You need to practice and practice some more on ordinary pens, leaving the more expensive pens to the experts. Although overall the “51” plastic is very sturdy and will withstand a lot, some of the “51” plastics are more brittle than others, especially the Mustard and Gray colors. Some are more suceptible to staining and although in some cases can be improved with a thorough cleaning, most are beyond hope. Cosmetic improvements can be made with a good polish, although you need to be very careful with imprints. Dent removal from caps is possible, but it really is beyond most amateur repairers. Most parts are widely available except for the rare colors. The art of restoring a pen from near death back to fully working condition is probably one of the most satisfying parts of this hobby.
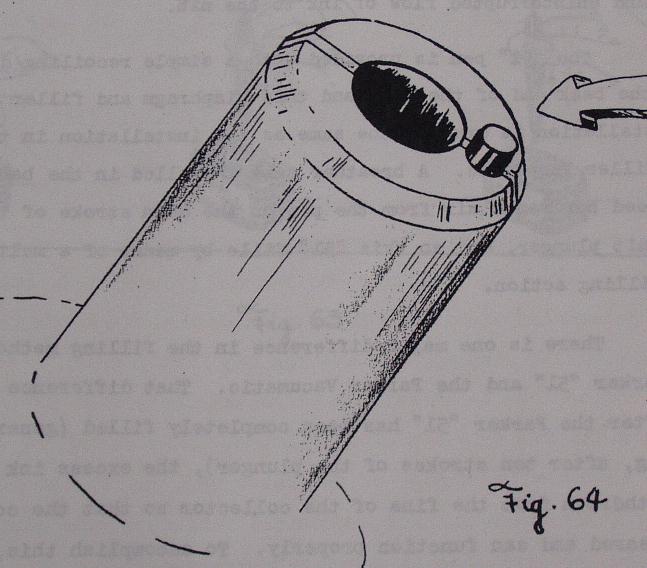
Re-assemble the front section by aligning the hood first without the collector, in order to estimate the alignment of the nib. Insert the collector, nib and feed. Screw the hood to check alignment. Repeat until perfectly aligned. It should only require small adjustments. The hood must be re-sealed, or you will get inky fingers. You can use either rubber cement or shellac on the threads. I prefer rubber cement for easy removal later on if necessary. Let the front section dry for at least 30 minutes, and then test the pen by filling up with ink. Ink flow can be regulated by spreading the tines very slightly or by molding the tip of the hood onto the nib, which has the same effect as spreading the tines. Click Here to see a ca. 1944 Parker “51” Repair Kit |

A lot of people will tell you that an Aerometric Filler “51” can be restored with just a good flush of water and nothing else. Although this can be the case in some Aerometric Filler “51s”, I find that this is not true in most cases. A lot of the Parker “51” aerometric owners used Parker Superchrome Ink. These inks dried up very quickly and tended to clog up a pen, especially when the silver breather tube got corroded by these very alkaline inks. The best preventive maintenance is to remove all the parts and thoroughly clean them. To remove the shell, Parker used a tool to grip the treads when the barrel was off, in order to avoid twisting the metal filling case. In any event, you will need to apply heat to the shell area near the clutch ring. This can be done with a multiple setting heat gun or alternatively a hair blower. Be careful because the hood is rather thin, and will deform easily. Grip the hood with a piece of rubber and the barrel by the threads. Do not exert excessive force, or you risk cracking the hood or ruining the filler. If the hood does not give, apply some more heat. Early hoods were shellac-ed in place and later a rubber o-ring was used. Once the hood is off, soak the front collector and hood in cool water. Do not attempt to twist the collector without soaking, as you will either crack it or break some fins. Once the collector is off, remove the feed and nib. You will need to make sure that the breather tube is clear. This can be done by blowing at one end. If clogged, insert a thin pin through one end of the breather tube to clean. Some of the silver tubes are beyond hope and will even break from so much corrosion. If this happens, some people drill the broken piece out and replace them, but in most cases you will need a replacement part. In the case of the Aerometric “51”, the filler itself will need little or no work, other than a good flush. Check the condition of the sac by putting a wet finger in the front opening and pressing. You should get a good amount of suction. The barrel should “hang-on” to your finger for 10 seconds, otherwise, you have a leak. Re-assemble the front section by inserting the collector, nib and feed. Align the hood first without the collector to estimate location. Insert and try the hood again. It should only then require only a small adjustment. The hood must be re-sealed, or you will get inky fingers. You can use either rubber cement or shellac on the threads. I prefer rubber cement for easy removal later on. Let the front section dry for at least 30 minutes, and then test the pen by filling up with ink. Ink flow can be regulated by spreading the tines very slightly or by molding the tip of the hood onto the nib, which has the same effect as spreading he times. |